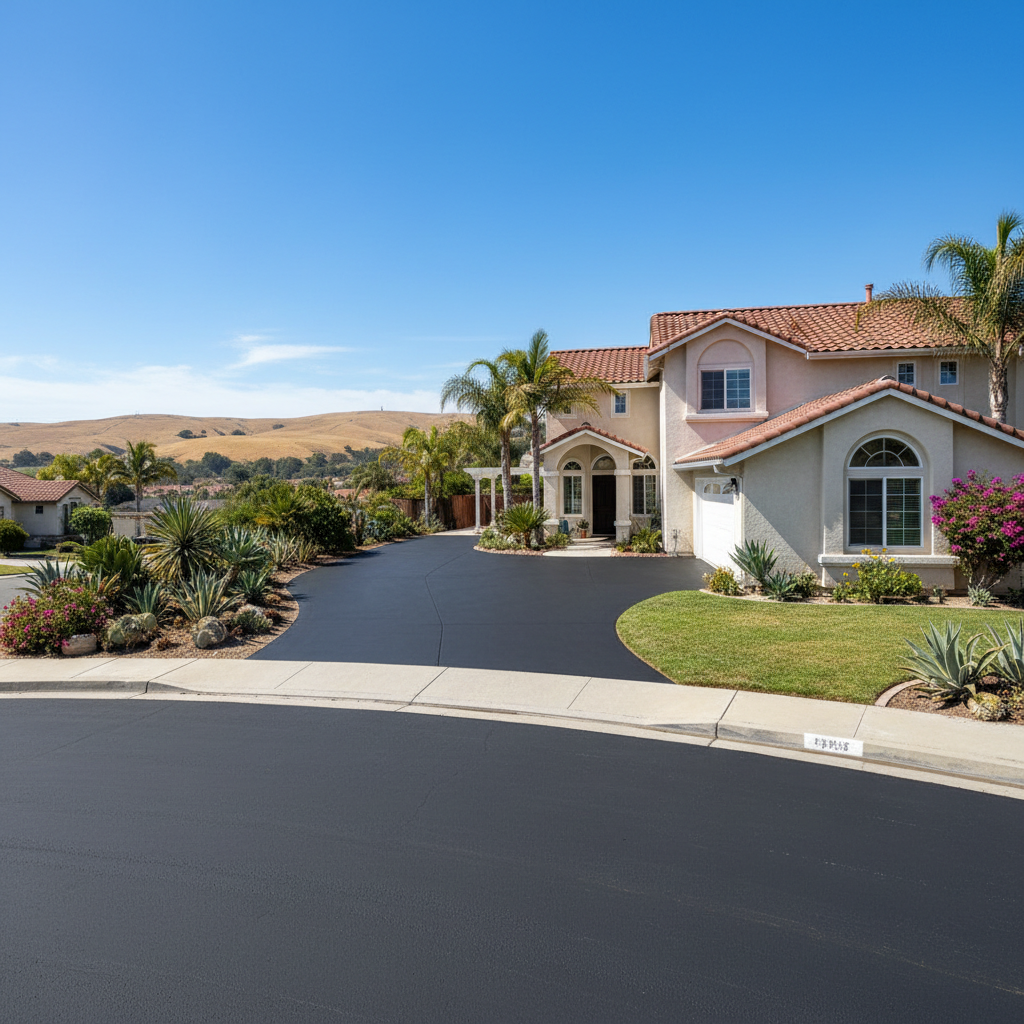
Getting Your Driveway Ready for Sealcoating: Your Playbook
So, you're thinking about sealcoating your asphalt driveway? Good call. It's truly one of the best things you can do to protect your investment, make your place look sharp, and just plain extend the life of your asphalt. But, hey, it's not simply about slapping some black stuff down. There's a real process involved, and knowing what to expect can save you a ton of headaches while making sure you get a quality job. As a local contractor, I've seen it all, believe me, and I want to give you the straight talk on planning your sealcoating project right here in Oceanside.
The Timeline: What to Expect from Start to Finish
Let's talk timing first. This isn't usually a one-day deal from your first phone call to the finished product, especially if your driveway needs a little TLC before the sealcoat even goes on. Here’s a typical breakdown for you:
Initial Contact & Quote (1-3 days): You give us a call, and we set up a time to come out and check out your driveway. We're looking for cracks, oil stains, any existing damage, and just the overall shape of your asphalt. Then, we'll send over a detailed quote. This part usually happens pretty fast.
Scheduling the Work (1-2 weeks out): Once you've approved the quote, we'll get you on the books. Good contractors tend to be booked up a bit, especially during our prime weather windows here in Oceanside – you know, those perfect sunny, warm days when the marine layer doesn't hang around too long. We really need consistent dry weather so the sealcoat can cure correctly.
Pre-Work Prep (Day before/Morning of): This part is mostly on you, the homeowner, but we'll definitely remind you. We need that driveway clear, clean, and dry. More on that in a bit, okay?
The Sealcoating Process (1-2 days): For most residential driveways, the actual application usually takes just one day. If your driveway is really big, or if it needs a lot of crack filling, it might stretch into two. We typically put down two coats for better durability. This isn't something we rush; each coat needs its time to set up.
Curing Time (24-48 hours after application): This is super important. You absolutely cannot drive or park on the freshly sealed surface for at least 24 hours, and honestly, 48 hours is even better – especially if it's been a little humid or cooler out. Walking on it after a few hours is usually fine, but keep vehicles off. We'll give you very specific instructions.
What Happens During the Sealcoating Process?
When our crew from Oceanside Precision Asphalt shows up, here's what you'll typically see us doing:
Cleaning: We'll use power blowers, brooms, and sometimes even a pressure washer to get rid of all the dirt, leaves, and debris. Any loose stuff will just keep the sealcoat from sticking right.
Oil Stain Treatment: Got oil spots? We'll treat those with a primer or a special cleaner. Sealcoat just won't stick to oil, so this step is an absolute must.
Crack Filling: This is a big one. We'll fill any cracks wider than about 1/8 inch with hot rubberized crack filler. This stops water from getting underneath your asphalt and causing bigger problems down the road. It's a separate process, and it has to be done right before sealing.
Edging & Protection: We'll tape off areas like concrete walkways, garage doors, and any landscaping to prevent overspray. We're pretty careful not to get sealcoat where it doesn't belong.
Application: We apply the sealcoat evenly, usually using specialized spray equipment or squeegees. We'll put down the first coat, let it dry for a few hours, and then apply the second. This two-coat method gives you the best protection and a nice, consistent finish.
How You Can Prepare Your Driveway
Your part in all this is pretty straightforward, but it's important. Doing these things really helps us do our best work:
Clear the Driveway: Move all cars, boats, RVs, trash cans, basketball hoops – seriously, anything – off the driveway and out of the work area. We need a completely clear surface.
Trim Landscaping: If you've got bushes or plants hanging over the driveway, give them a trim. This keeps them from getting sealcoat on them and gives us plenty of room to work.
Clean Up Loose Debris: Sweep off any major leaves, dirt, or loose gravel. We'll do a final blow-off, of course, but a head start always helps.
Turn Off Sprinklers: Make sure your sprinklers are off the night before and the day of the application. We need that driveway bone dry.
Plan for No Access: Remember that 24-48 hour cure time? If you need your car, make sure it's parked on the street or somewhere else accessible before we even start. You won't be able to get it in or out, not for a while.
Questions to Ask Before You Sign That Contract
Don't just jump at the first quote you get, okay? Ask these questions to make sure you're working with a reputable contractor:
What type of sealcoat product do you use? There are different grades out there. I typically recommend a high-quality, commercial-grade refined coal tar or asphalt emulsion sealer, the kind designed for our coastal climate.
How many coats do you apply? Two coats are pretty standard for a good residential job. One coat just doesn't offer the same protection or longevity, plain and simple.
What's your crack filling process? Make sure they're using a hot-applied rubberized crack filler, not just that cold pour stuff. The hot material expands and contracts with the asphalt, giving you a much better seal.
Do you treat oil spots? If they say no, or act like it's not a big deal, that's a red flag. Oil treatment is absolutely essential.
What's the weather contingency plan? We get those unexpected showers here, even in summer, right? What happens if it rains after application? A good contractor will have a clear policy for rescheduling or redoing work if weather messes with the cure.
Are you licensed and insured? This is absolutely critical. Don't work with anyone who isn't. Ask for proof!
Do you offer a warranty? A reputable company will stand behind their work. Ask what their warranty covers and for how long.
Getting your driveway sealcoated is a solid investment. By understanding the process and asking the right questions, you'll ensure your Oceanside home gets a driveway that looks great and lasts for years. We're here to help if you have more questions, by the way.