Alright, let's talk slurry coating. You've got an asphalt driveway, maybe it's looking a little faded, has some tiny cracks, or just needs a refresh. Slurry coating often gets mixed up with sealcoating, but they're not quite the same thing. Think of slurry as a thicker, tougher protective layer that can fill minor flaws and give your asphalt a fresh, dark look. It's got fine aggregates mixed right in, which gives it more body than a typical sealcoat.
Before You Even Think About Slurry
Preparation is everything. Seriously, you could have the best slurry product on the planet, but if your surface isn't ready, you're just throwing away time and money. Here’s your checklist:
- Clean It Up: First, sweep or blow off all the loose dirt, leaves, and debris. After that, you'll want to power wash the whole surface. Get rid of any oil stains, grease, or grime. A good degreaser works wonders for those stubborn spots. Just make sure you rinse it really well.
- Repair Cracks and Potholes: Slurry isn't a magic fix for big cracks or potholes. It's really for surface protection and filling minor things. Any cracks wider than, say, a quarter-inch, or any actual potholes, need proper filling and patching beforehand. Let those repairs cure completely, just like the product instructions say.
- Edging: You'll want to protect your concrete sidewalks, garage doors, and landscaping. Use painter's tape or plastic sheeting to create nice, clean lines. Trust me, taping it off once is way easier than scrubbing asphalt off your pavers later.
- Weather Watch: This is huge, especially here in Oceanside. You need at least 24-48 hours of dry weather, with temperatures consistently above 50°F (and not too hot, 90°F is really pushing it). Early morning fog, which is pretty common near the coast, can delay things, so check the forecast carefully. You definitely don't want rain washing away all your hard work.
DIY or Call a Pro?
This is where it gets real. Can a homeowner apply slurry? Yes, for a small, well-maintained driveway, it's certainly doable. You can buy commercial-grade slurry products at home improvement stores. But here's the kicker: it's a lot of work, and it sets fast.
- DIY Pros: You save money on labor, and there's that satisfaction of doing it yourself.
- DIY Cons: It's physically demanding. You need to work quickly and apply it evenly. Missed spots or uneven application will definitely show. Getting the right consistency and coverage can be tricky, too. Plus, disposing of leftover materials can be a real hassle.
For larger driveways, or if your asphalt has more than just minor issues, I'd strongly recommend calling a professional. We've got the specialized equipment, the right materials, and the experience to get a smooth, even finish that lasts. At Oceanside Precision Asphalt, we've done countless driveways, from those small ones in the Fire Mountain area to the bigger properties further east. We know the local conditions and how they affect application.
During the Application
If you're going the DIY route, here's the gist:
- Mix Thoroughly: Slurry needs a good, thorough mix. Follow the manufacturer's instructions precisely. It should be a consistent, thick liquid, kind of like a very heavy paint.
- Apply Evenly: Use a squeegee or a specialized asphalt brush. Work in small sections, putting down a thin, even coat. Don't go too thick, or it won't cure properly and could crack. Overlap your strokes slightly to avoid lines.
- Two Coats? Depending on the product and your driveway's condition, you might need a second coat. If so, let the first coat dry completely (usually 4-8 hours, but check the label) before putting on the second.
After the Slurry Dries
The hard part's over, but you're not quite done.
- Cure Time: This is crucial. Stay off the driveway! No cars, no heavy foot traffic, no bikes for at least 24-48 hours, sometimes longer depending on humidity and temperature. Driving on it too soon will leave tire marks and damage the new surface.
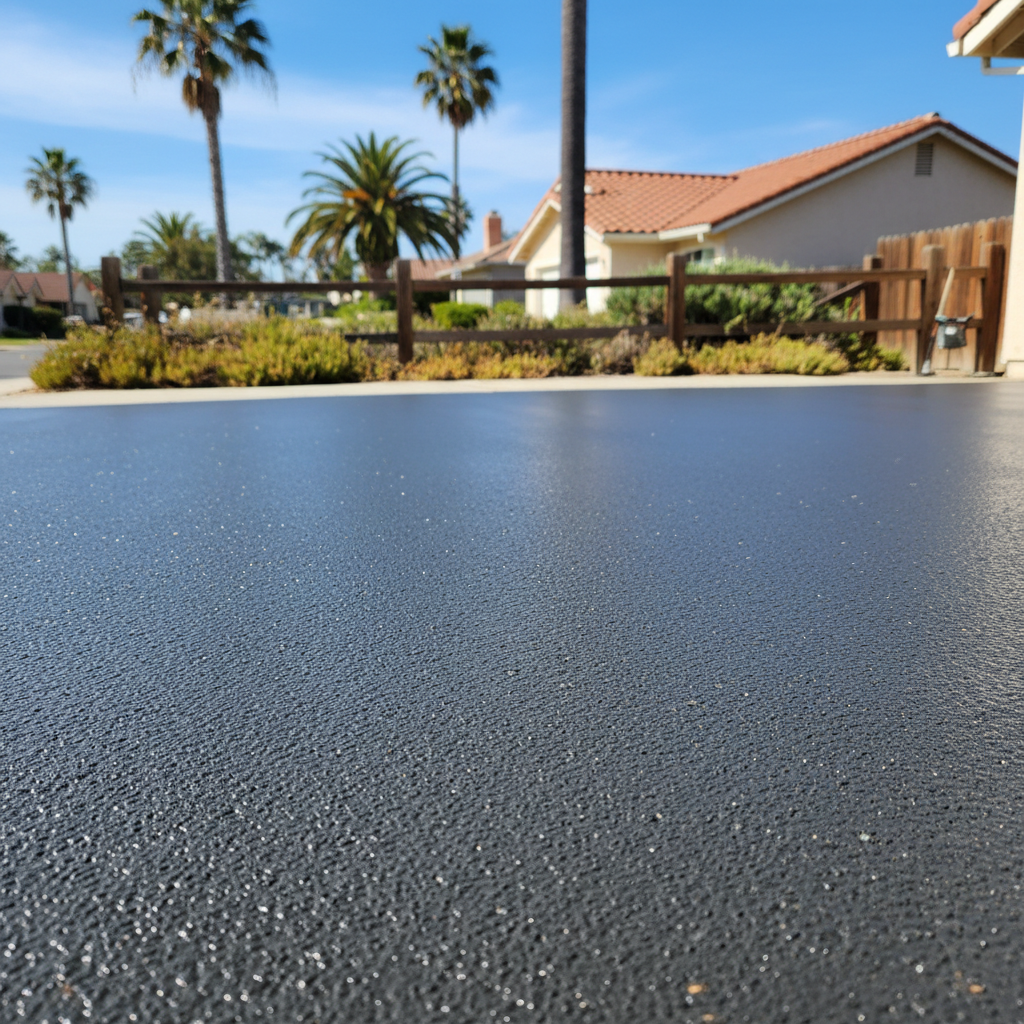
- Initial Appearance: Don't panic if it looks a little streaky or uneven right after you apply it. As it cures, it will typically even out and darken to a uniform black.
- Maintenance: Keep it clean. Sweep off debris regularly. Address any new oil or gas spills immediately with an absorbent material and a mild cleaner. While slurry offers good protection, it's not invincible, is it?
Slurry coating can extend your asphalt's life and make your property look sharp. Just make sure you're doing it right, whether that's with your own hands or by bringing in the pros like us at Oceanside Precision Asphalt. A little planning goes a long way to a great-looking, long-lasting driveway.